We encourage you to create your plant and other symbols rather than rely exclusively on ours. It is simple: create your symbol, select all the elements (lines arcs circles, etc.) making up the new symbol, define a base point for the block, right-click, and give the new symbol a name.
Note: When defining a symbol, make sure to locate the position of the base point in the center of the symbol. This means that when the symbol is imported to a new drawing, it is anchored at an appropriate point.
Approach #1 Symbols tied to a plant species
Here is an example of a symbol for Hydrangea macrophylla created by the team at Stately Paving and Landscape Design in Melbourne, Victoria.
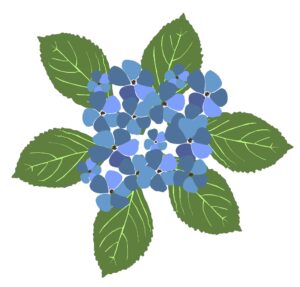
This team of designers focuses on delivering colorful designs to their clients ensuring that each plant species is represented by a symbol that gives the ‘look and feel’ of the species. They also use SppDb, the companion plant database for gCADPlus, to provide comprehensive notes on the cultivation and care of species in the plant schedule.
Approach #2 Generic symbols
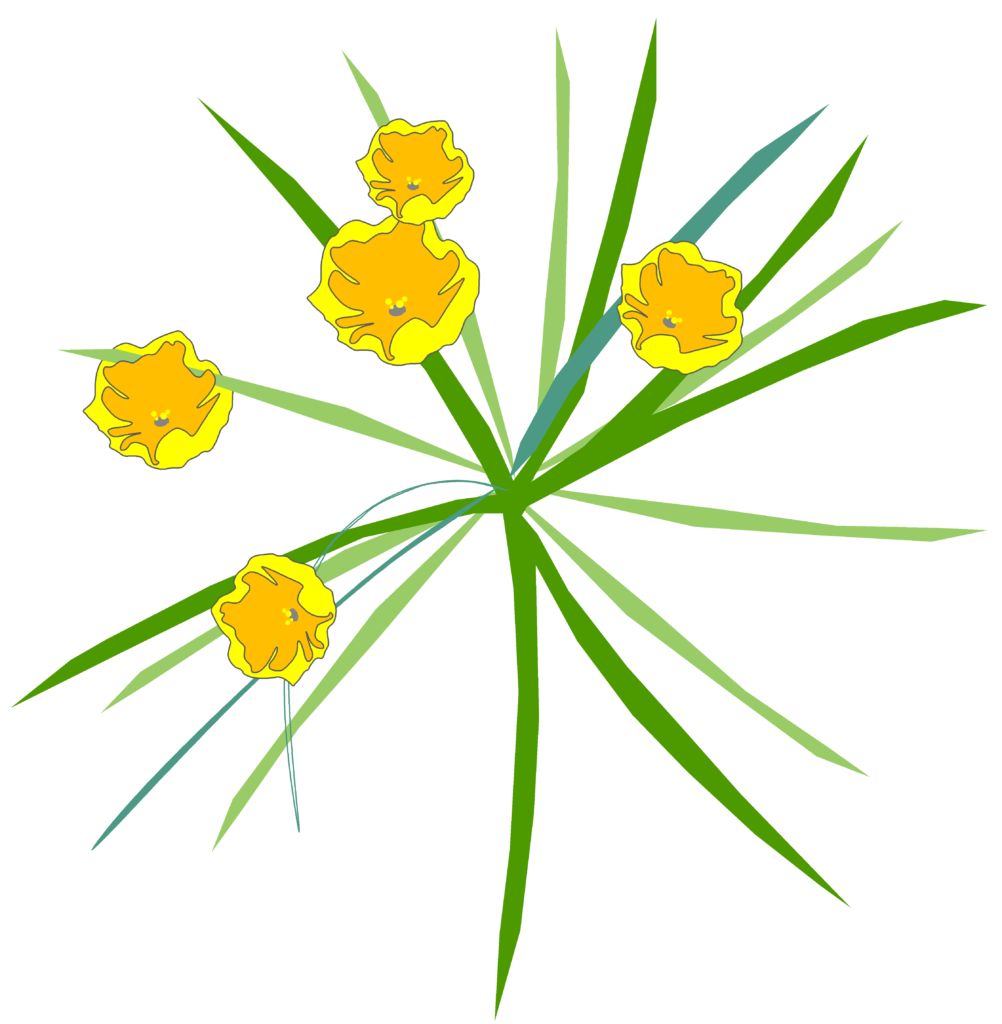
An alternative and simpler approach is to develop graphically rich symbols not tied to one species and use them for many plants. The figure below shows a symbol originally designed for daffodil bulb planting but also used for several different yellow flowering species. In this case, the symbol is named GenericYellow whereas the symbol for the Hydrangea macrophylla above carried the full botanical name.
Adding new symbols to gCADPlus
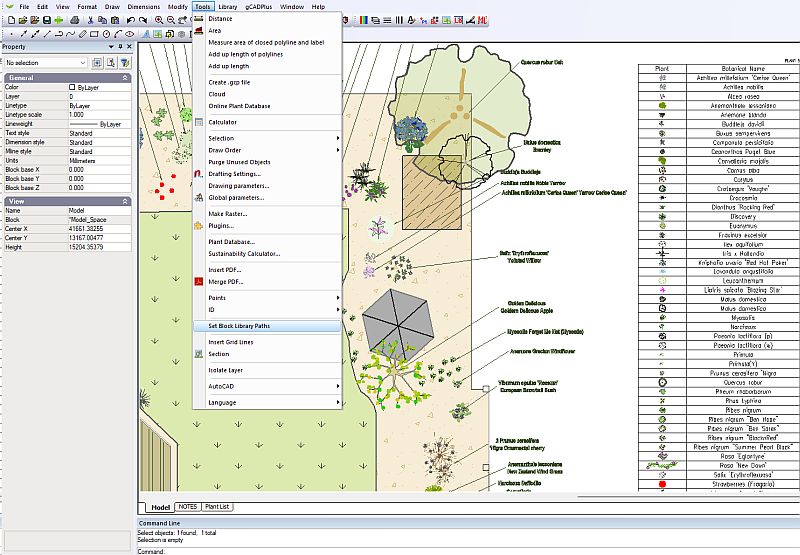
All that’s needed to incorporate new symbols into your copy of gCADPlus is to copy them to the gCADPlus library.
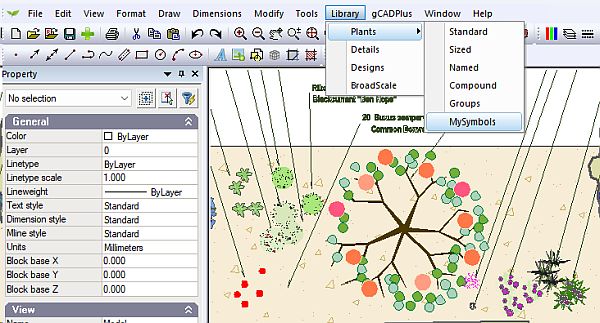
Tip: Once you have made several symbols, we find it worth creating a MySymbols library folder and setting up a custom path to in gCADPlus.
The new symbols are then available via the Library while using gCADPlus.
![]() We recommend creating a local folder for new symbols. Once that’s done, modify the path to the symbols folder. The collection of new symbols is always available and removes the need to carry lots of unnecessary blocks and details in your landscape design template and other drawings.
We recommend creating a local folder for new symbols. Once that’s done, modify the path to the symbols folder. The collection of new symbols is always available and removes the need to carry lots of unnecessary blocks and details in your landscape design template and other drawings.
It is not mandatory, but if you would like to make your symbols work in the same manner as native gCADPlus symbols, you need to follow the instructions set out below.
Creating a symbol in the gCADPlus way
![]() Landscape designs produced using CAD software can provide a sense of your style. One way to do that easily is to learn to make your symbols. These are unique and give your drawings personality rather than relying on the built-in symbols that come with gCADPlus. Here we show how to make new symbols that are ‘built in the same way as those supplied with gCADPlus landscape design software.
Landscape designs produced using CAD software can provide a sense of your style. One way to do that easily is to learn to make your symbols. These are unique and give your drawings personality rather than relying on the built-in symbols that come with gCADPlus. Here we show how to make new symbols that are ‘built in the same way as those supplied with gCADPlus landscape design software.
![]() When developing new planting symbols for gCADPlus, aim to keep the file size less than 5Ok. We have found that the best way to keep the symbol file size small is to build the symbol using closed polylines with a fill. Avoiding point and linear gradients in closed polylines is good practice as this can dramatically slow down the performance of gCADPlus when used in plant symbols.
When developing new planting symbols for gCADPlus, aim to keep the file size less than 5Ok. We have found that the best way to keep the symbol file size small is to build the symbol using closed polylines with a fill. Avoiding point and linear gradients in closed polylines is good practice as this can dramatically slow down the performance of gCADPlus when used in plant symbols.
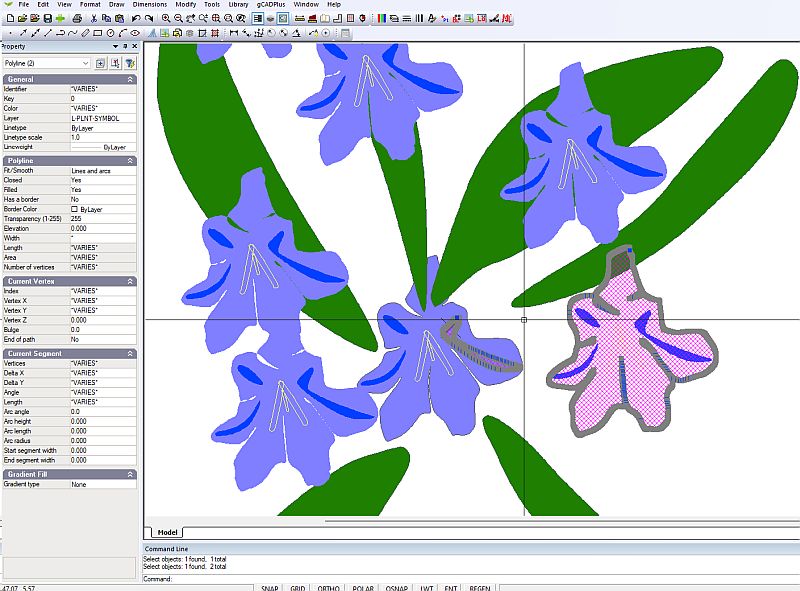
Tip: Avoid the temptation to explode a polyline as this can create huge numbers of vertices as shown around the border of a Campanula flower in the figure below; carrying many vertices makes for drawings with unnecessarily large file sizes.
The steps
Start a new drawing. [Do not use a template – select no template].
Via Layer>Layer dialog box, create the following layers:
L-PLNT-CONSTRUCTION, L-PLNT-SYMBOL
Set the drawing color for each layer at BYLAYER. [You will change the drawing color as you draw – coloring various parts of the canopy and branches as needed. These override the color setting ByLayer.]
Tip: Make sure that you know how to make a layer current. You will want to move to a layer, (say L-PLNT-SYMBOL) and change the drawing color to an appropriate shade of green to indicate the plant species you are designing for. Switch back to drawing ByLayer after creating the flower and foliage.
Place a circle (1000 units diameter – 500 units radius) on layer L-PLNT-CONSTRUCTION
The sequence is Draw drop-down > Circle> Radius
Mark the center with a point at Cartesian coordinate 0,0 on layer L-PLNT-CONSTRUCTION with a diameter of 1000 units (radius 500 units). This means that the symbol when displayed on layer L-PLNT-CONSTRUCTION will have a canopy diameter of 1 meter.
Draw a point on the same layer as the central indicator. Use Format > Point styles and set it as a plus sign.

Tip: Do not use a cross for this as the cross will be in an awkward position after rotation. This gives us a symbol that we can use to show the client a rough draft of the design – the full high-colored version comes next.
Set the point properties as shown above.
Now switch to and create the artwork for the symbol. Work on layer L-PLNT-SYMBOL
Draw the ‘fancy’ symbol
Here different colors are used along with the PLINE (Polyline) command. We often use the PLINE command to trace around the approximate circumference of the circle (using the circle on the L-CONSTRUCTION layer as a guide and then use the PEDIT (Properties in gCADPlus) to change the ‘fluidity’ of the shape. See the example below. Save the symbol.
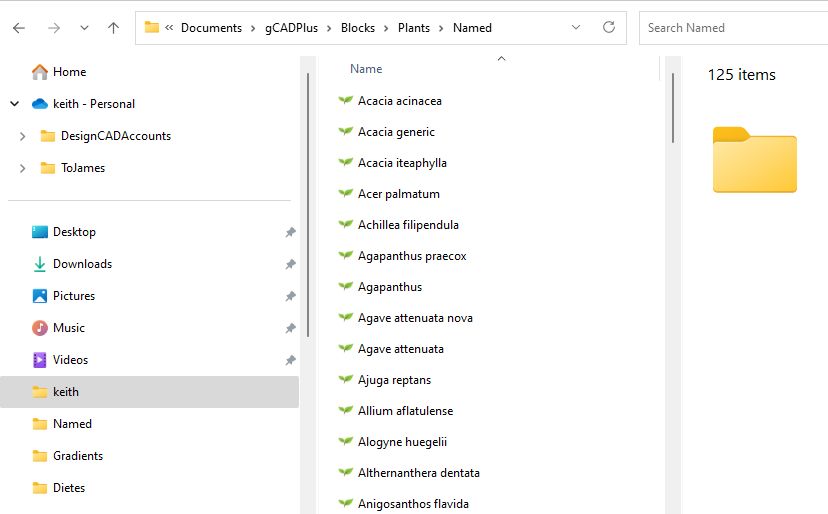
Tip: We find it useful to give the symbol a botanically meaningful name and store these in the Named library subfolder under Plants as shown below.


Test the symbol both on the screen and when plotted on paper. When finished your work, save the symbol in your block library.
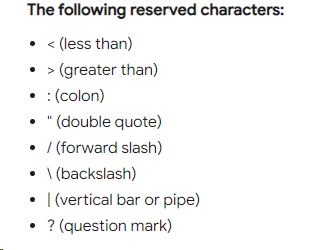
Tip: Avoid using Windows-reserved characters in block names.
![]() Here we show stages in developing a new symbol for the Japanese Spindle bush. We test the performance of the symbol in a new landscape project. @statelypavinglandscaping1426
Here we show stages in developing a new symbol for the Japanese Spindle bush. We test the performance of the symbol in a new landscape project. @statelypavinglandscaping1426
Another approach is to develop graphically rich symbols not named after particular species and store a MySymbols folder. The same symbol can then be used for many different plant species.
Adding a symbol to the gCADPlus library
After testing a symbol, save to the appropriate place in the My Documents > gCADPlus > Blocks folder.
The figure below shows the folder structure before saving a symbol in the standard folder set.
Tip: Another approach for using new symbols is to add them to your standard template.
If you are willing to share your new symbol with others, please send us a copy (to info@gcadplus.com) so we can include it on the downloads page for others to use.